
Skills (DIY) / 2015-07-01
Bicycle Cleaning
This article was originally written in Turkish and translated with the help of artificial intelligence.
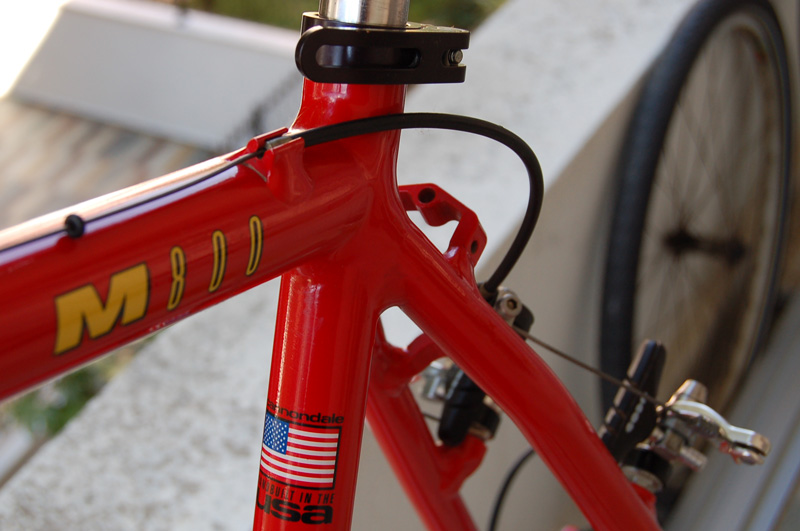
The title could just as well have been "Get your old bicycle back into shape". My bicycle had been standing in a corner for years, and every time I looked at it I promised to ride it again. After I moved somewhere near the coast, it began nudging me. I think I bought it in 1993; who knows when I last rode it. Although the tyres had aged, once inflated they seemed rideable, so I took it down to the waterfront. It had been a long time; after a motorcycle, it felt very strange at first. My belly made things quite hard, but after a while I got used to it. What began as a little test ride lasted several hours, and I decided to overhaul my bicycle.
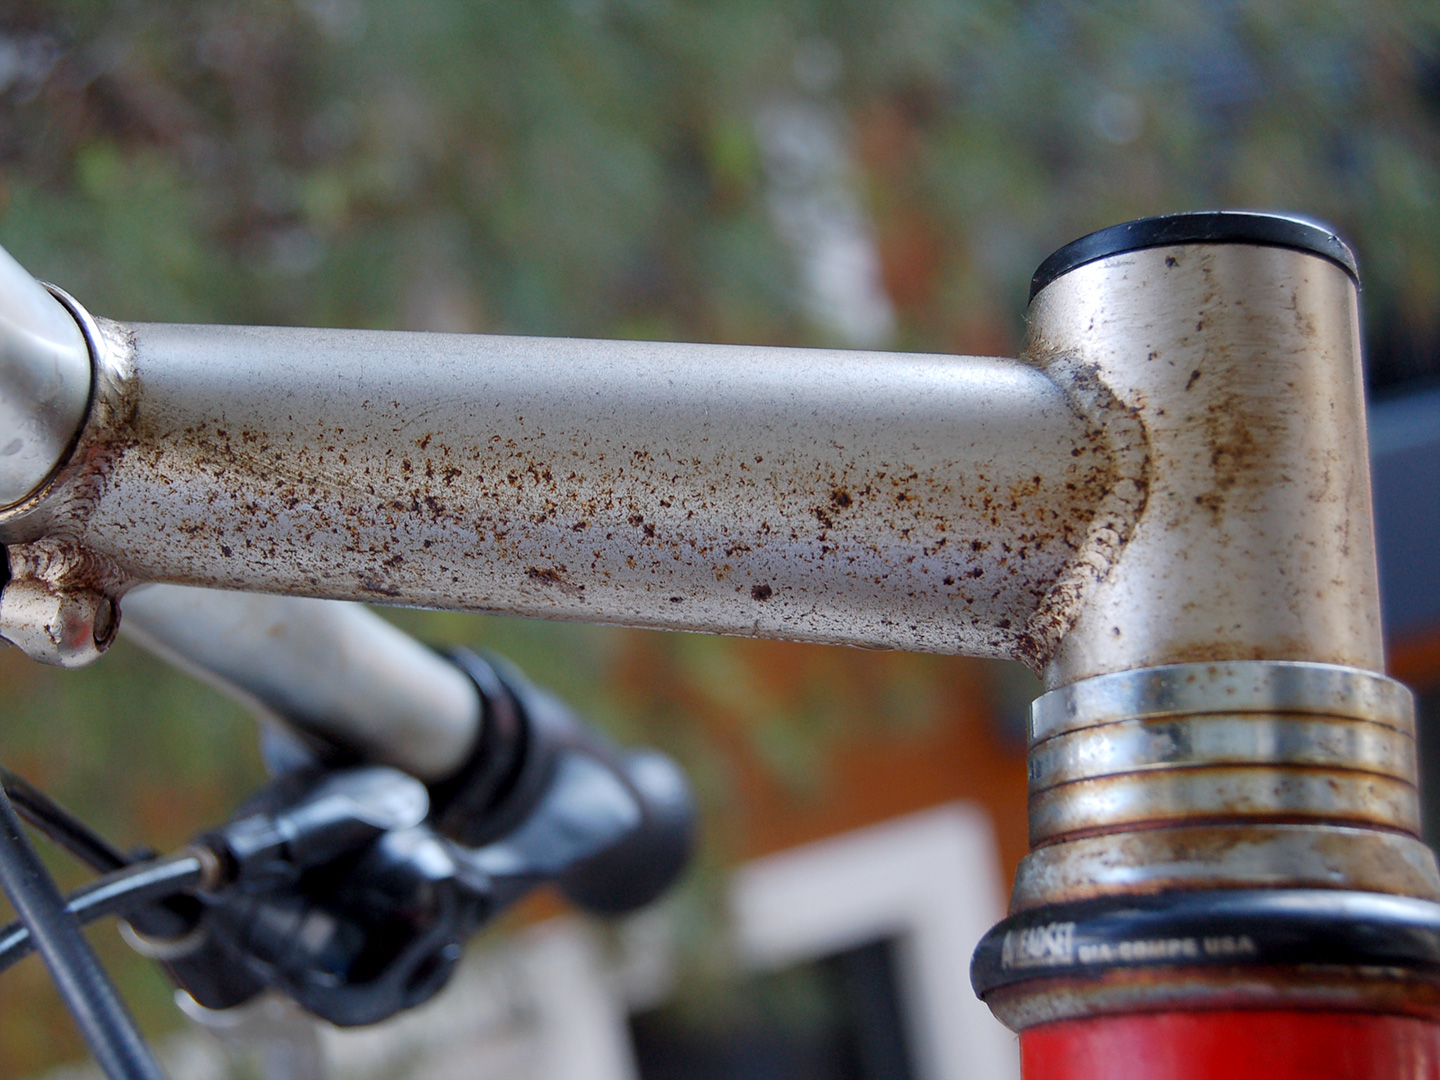
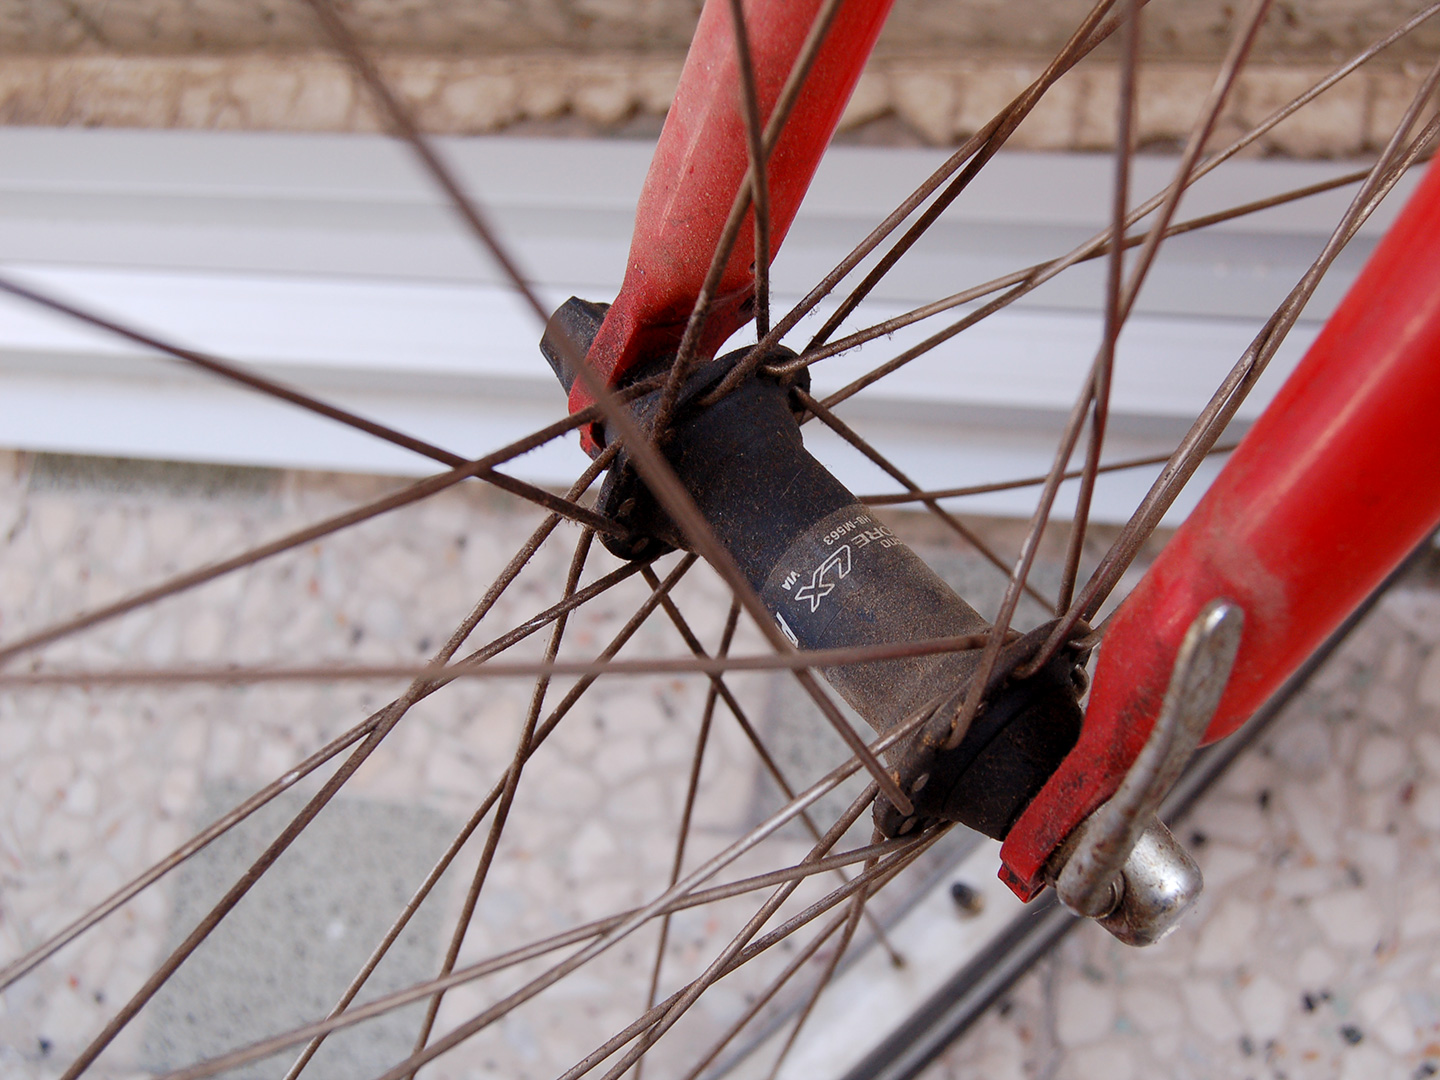 Although cleaning was its most obvious need, I decided to change the tyres first. Researching online, I realised that my Cannondale M800 Beast of the East had actually become a "vintage" bicycle. Wanting to treat it accordingly, I also bought some Shimano bicycle grease. The aluminium-alloy frame had not rusted, but there were rusty spots here and there, particularly where paint had been damaged. The front shifter did not work, the rear shifting was out of adjustment, and the chain was in a sorry state. Plenty of issues, in other words.
It could have been put right without taking it apart, but I decided to strip it down. Interestingly, the tiny toolkit I bought years ago, which mounts on the seatpost, handled every job except removing the crankset and bottom-bracket cartridge. I was impressed. Anyone interested can look here for details.
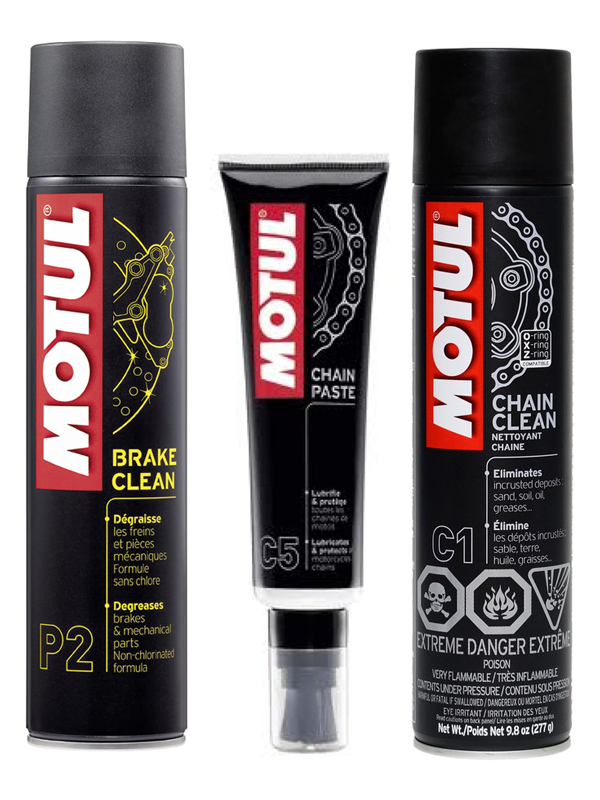 While dismantling it, I finished gathering my chemicals: chain cleaner, brake cleaner and chain lubricant from Motul, a brand I use a lot on my motorcycles. Plus WD40, an essential in every home. For cleaning, I think an assortment of rags destined for the bin afterwards, a kitchen sponge, a metal scouring pad, a toothbrush and, if things are this bad, a wire brush should do the job. Before I forget, disposable plastic gloves are a great convenience; after a while you get used to wearing them.
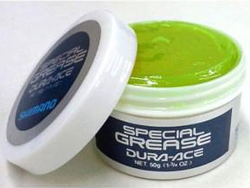 If, like me, you are stripping it down as far as the bearing balls and races, remember to get suitable grease too. I used a product I knew, but there are many new ones. The spray varieties intrigued me, although for now I decided to stick to familiar methods. One adventure at a time is enough. :)
As the photo of the stem above shows, WD40 and a sponge can work wonders. Fortunately, my spokes turned out not to be steel. The rim does say titanium, but I had not thought that included the spokes too. Cleaning rims and spokes is quite simple, but takes a loooong time.
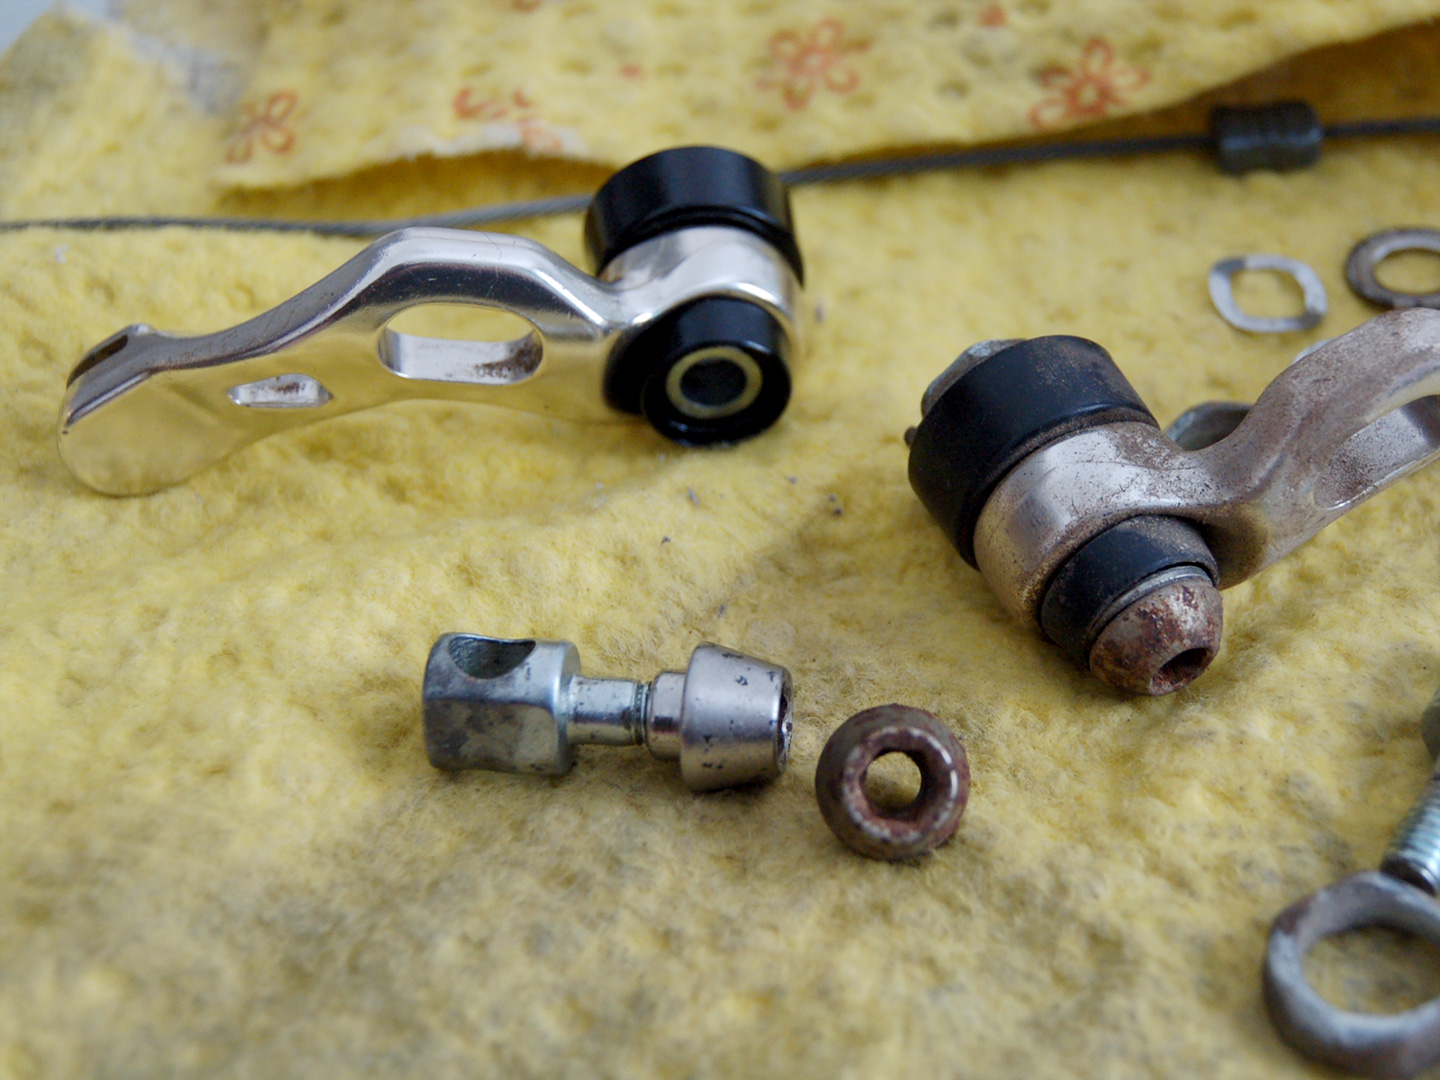 Once cleaned, the brake and gear cables looked usable too, so I will reuse them. As I took things apart, I kept being surprised. The brakes, for instance, have a force-distributing mechanism first, with the cables then running out to arms like those of a V-brake. With every part I removed, I encountered odd little but ingenious mechanical technologies I had long forgotten.
I was enjoying myself right up to that non-working Shimano Deore LX Rapidfire shifter. For this part, I even had to do some reading just to dismantle it. Normally, when you spray
WD40 inside, the dirt washes out and it starts working again. Not mine!
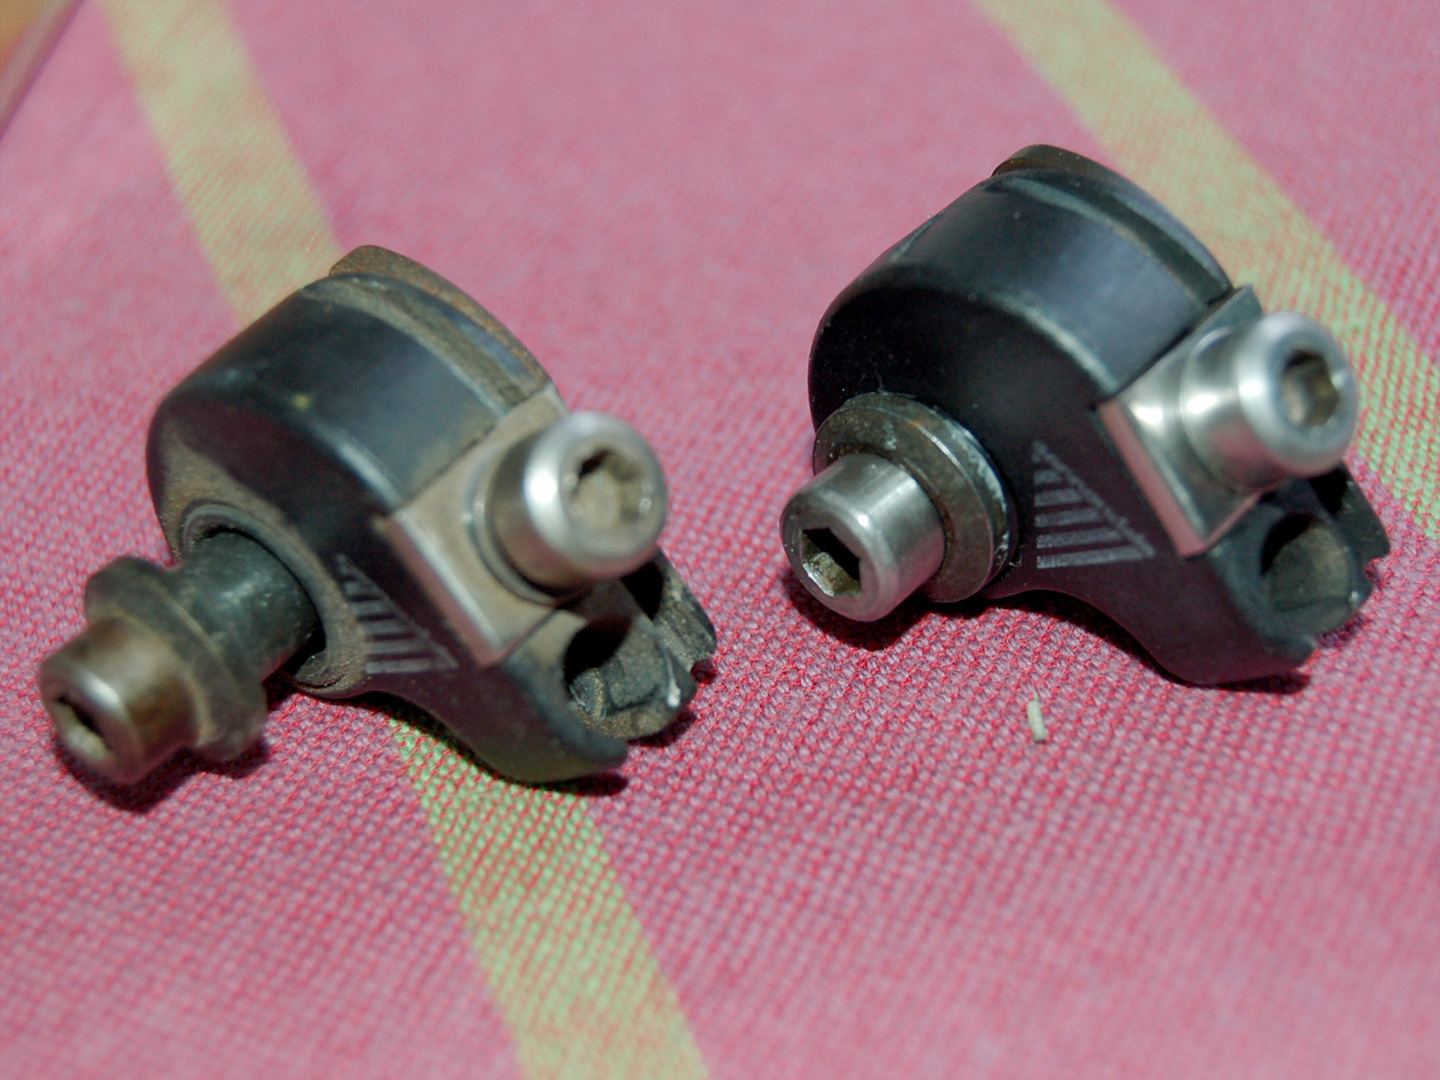
A spring had broken, a tiny one at that. With my poor eyesight, bending another spring of similar wire thickness that I found in a drawer into what I thought the intact original should have looked like took half a day. If I had not been so stubborn, buying a replacement would have made more sense. I was also rather caught up in the excitement of a "vintage" restoration. Don't tell anyone. :P
By the way, you can right-click the photographs to view larger versions. The transformations of the parts honestly surprised me. If I have forgotten to say how tiring this is, now is the time to remember it: my hands still ache. :(
At the same time, the effort pays off almost immediately. It is a satisfying kind of tiredness. I did not take photographs while removing and reinstalling the bottom-bracket cartridge and hubs. :( Probably I could not be bothered with dirty hands. Luckily, I did not encounter damaged bearing balls, worn races or similar problems. What can I say? Buying this bicycle was a financial stretch at the time; I even remember selling my computer more than twenty years ago. A good decision! Every component reminds me of it again. Our American friend has written "Made in America", "hand-welded" and so on all over it anyway. Let him: he has earned it.
Apart from a few little paint touch-ups, I will leave you for now with pictures of the reassembled bike.
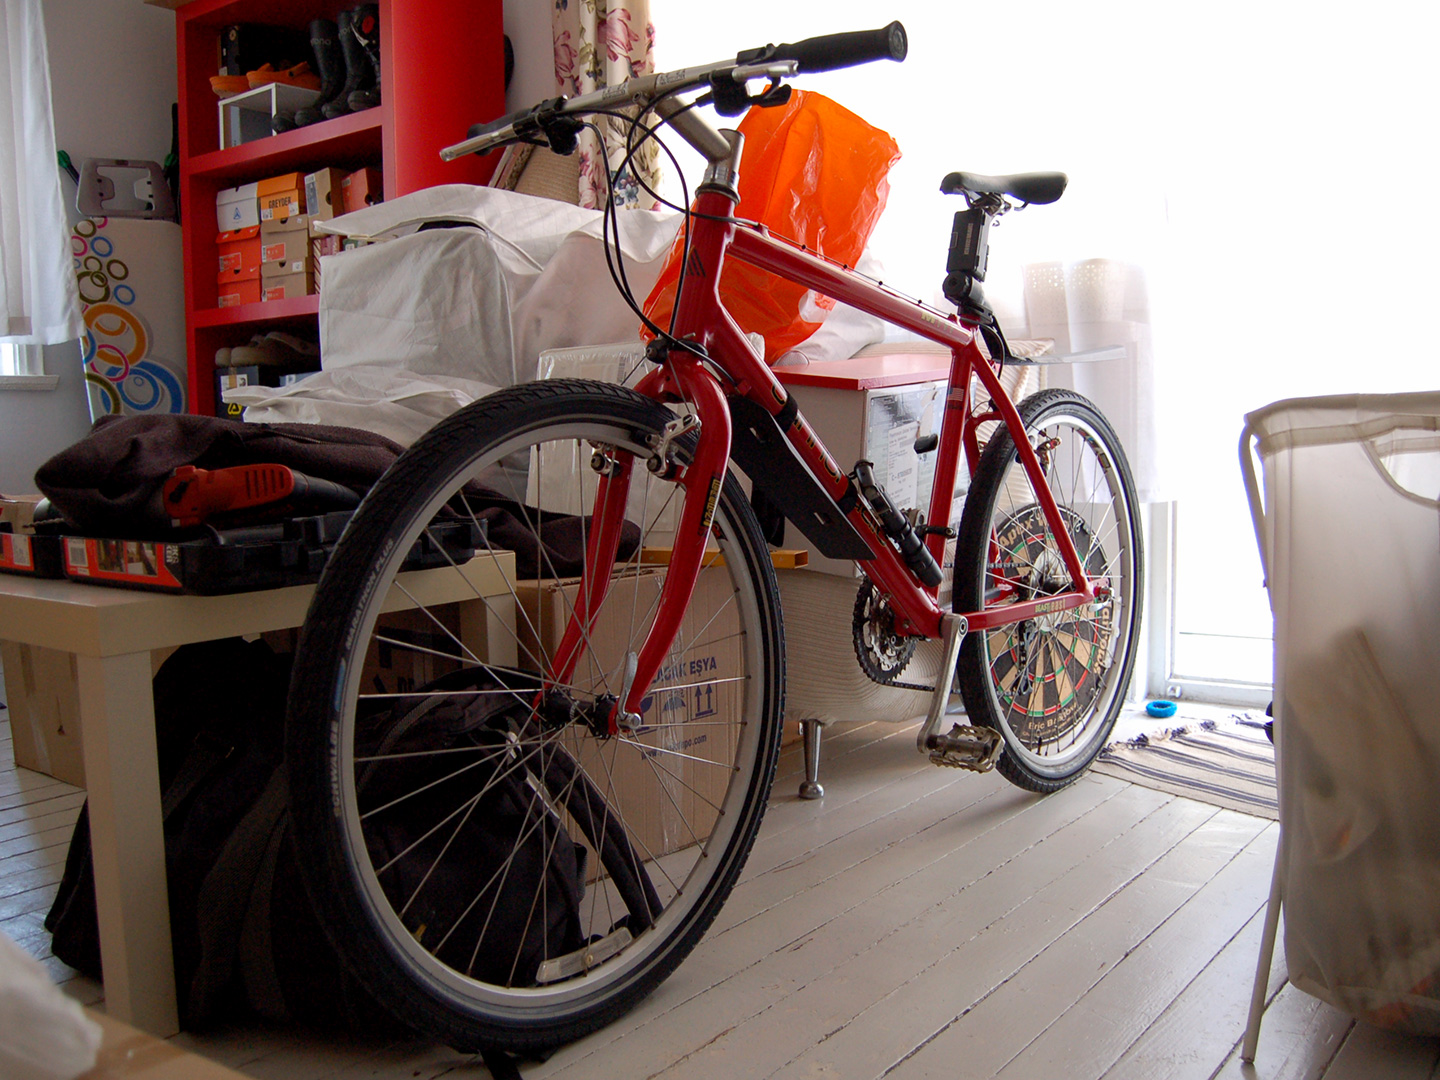
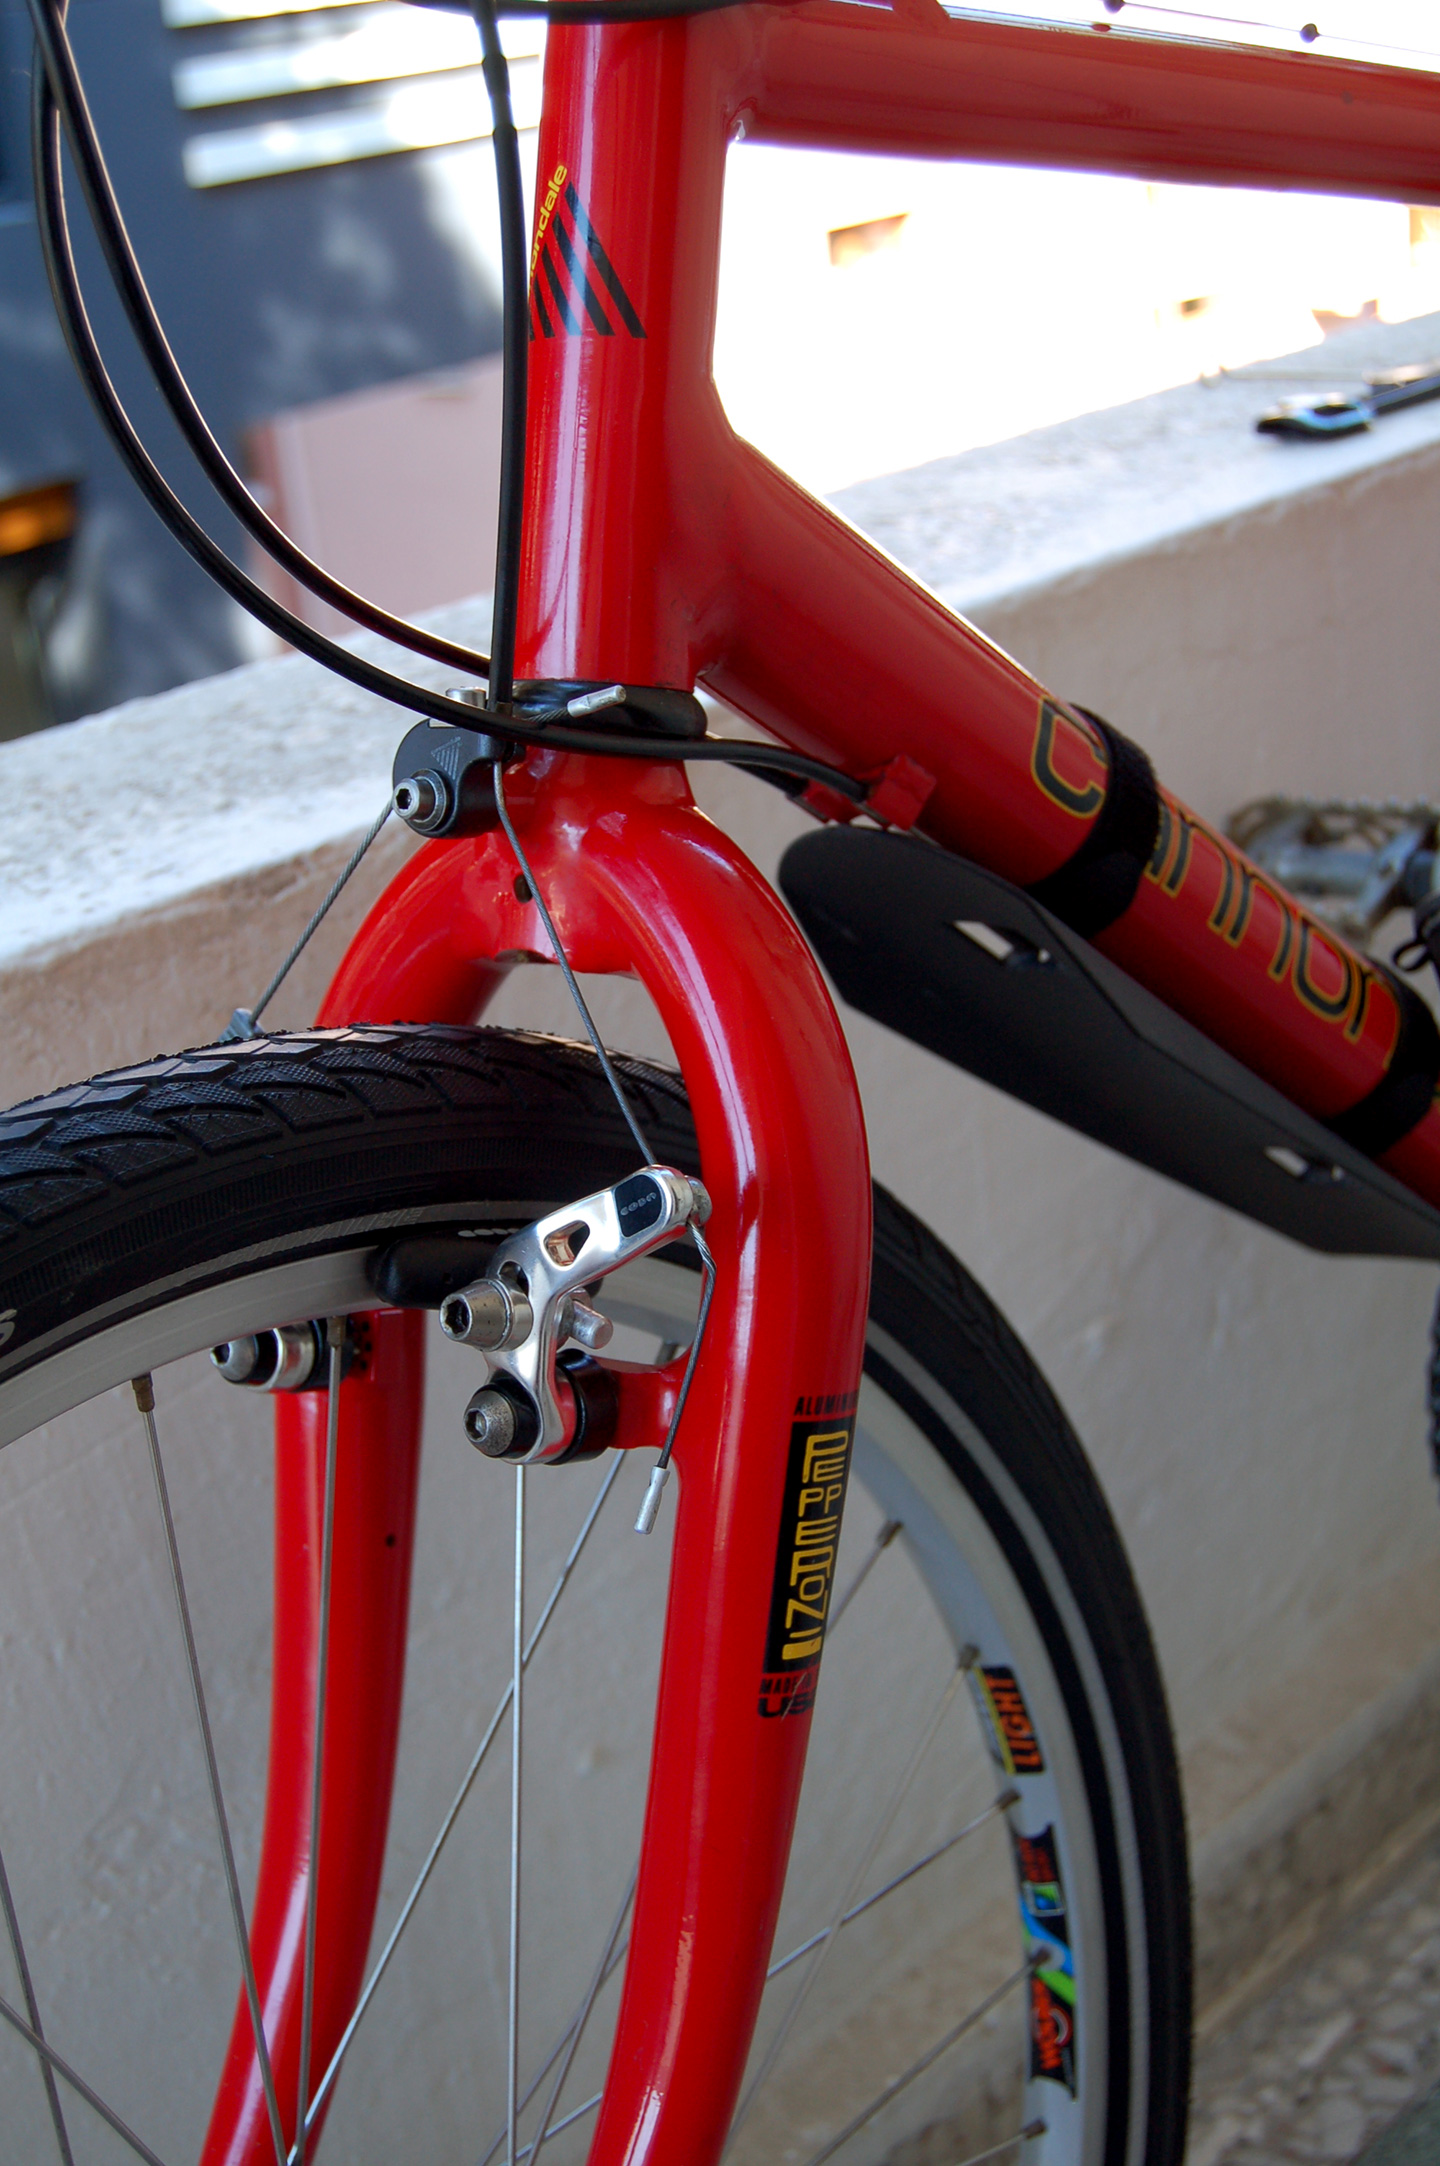
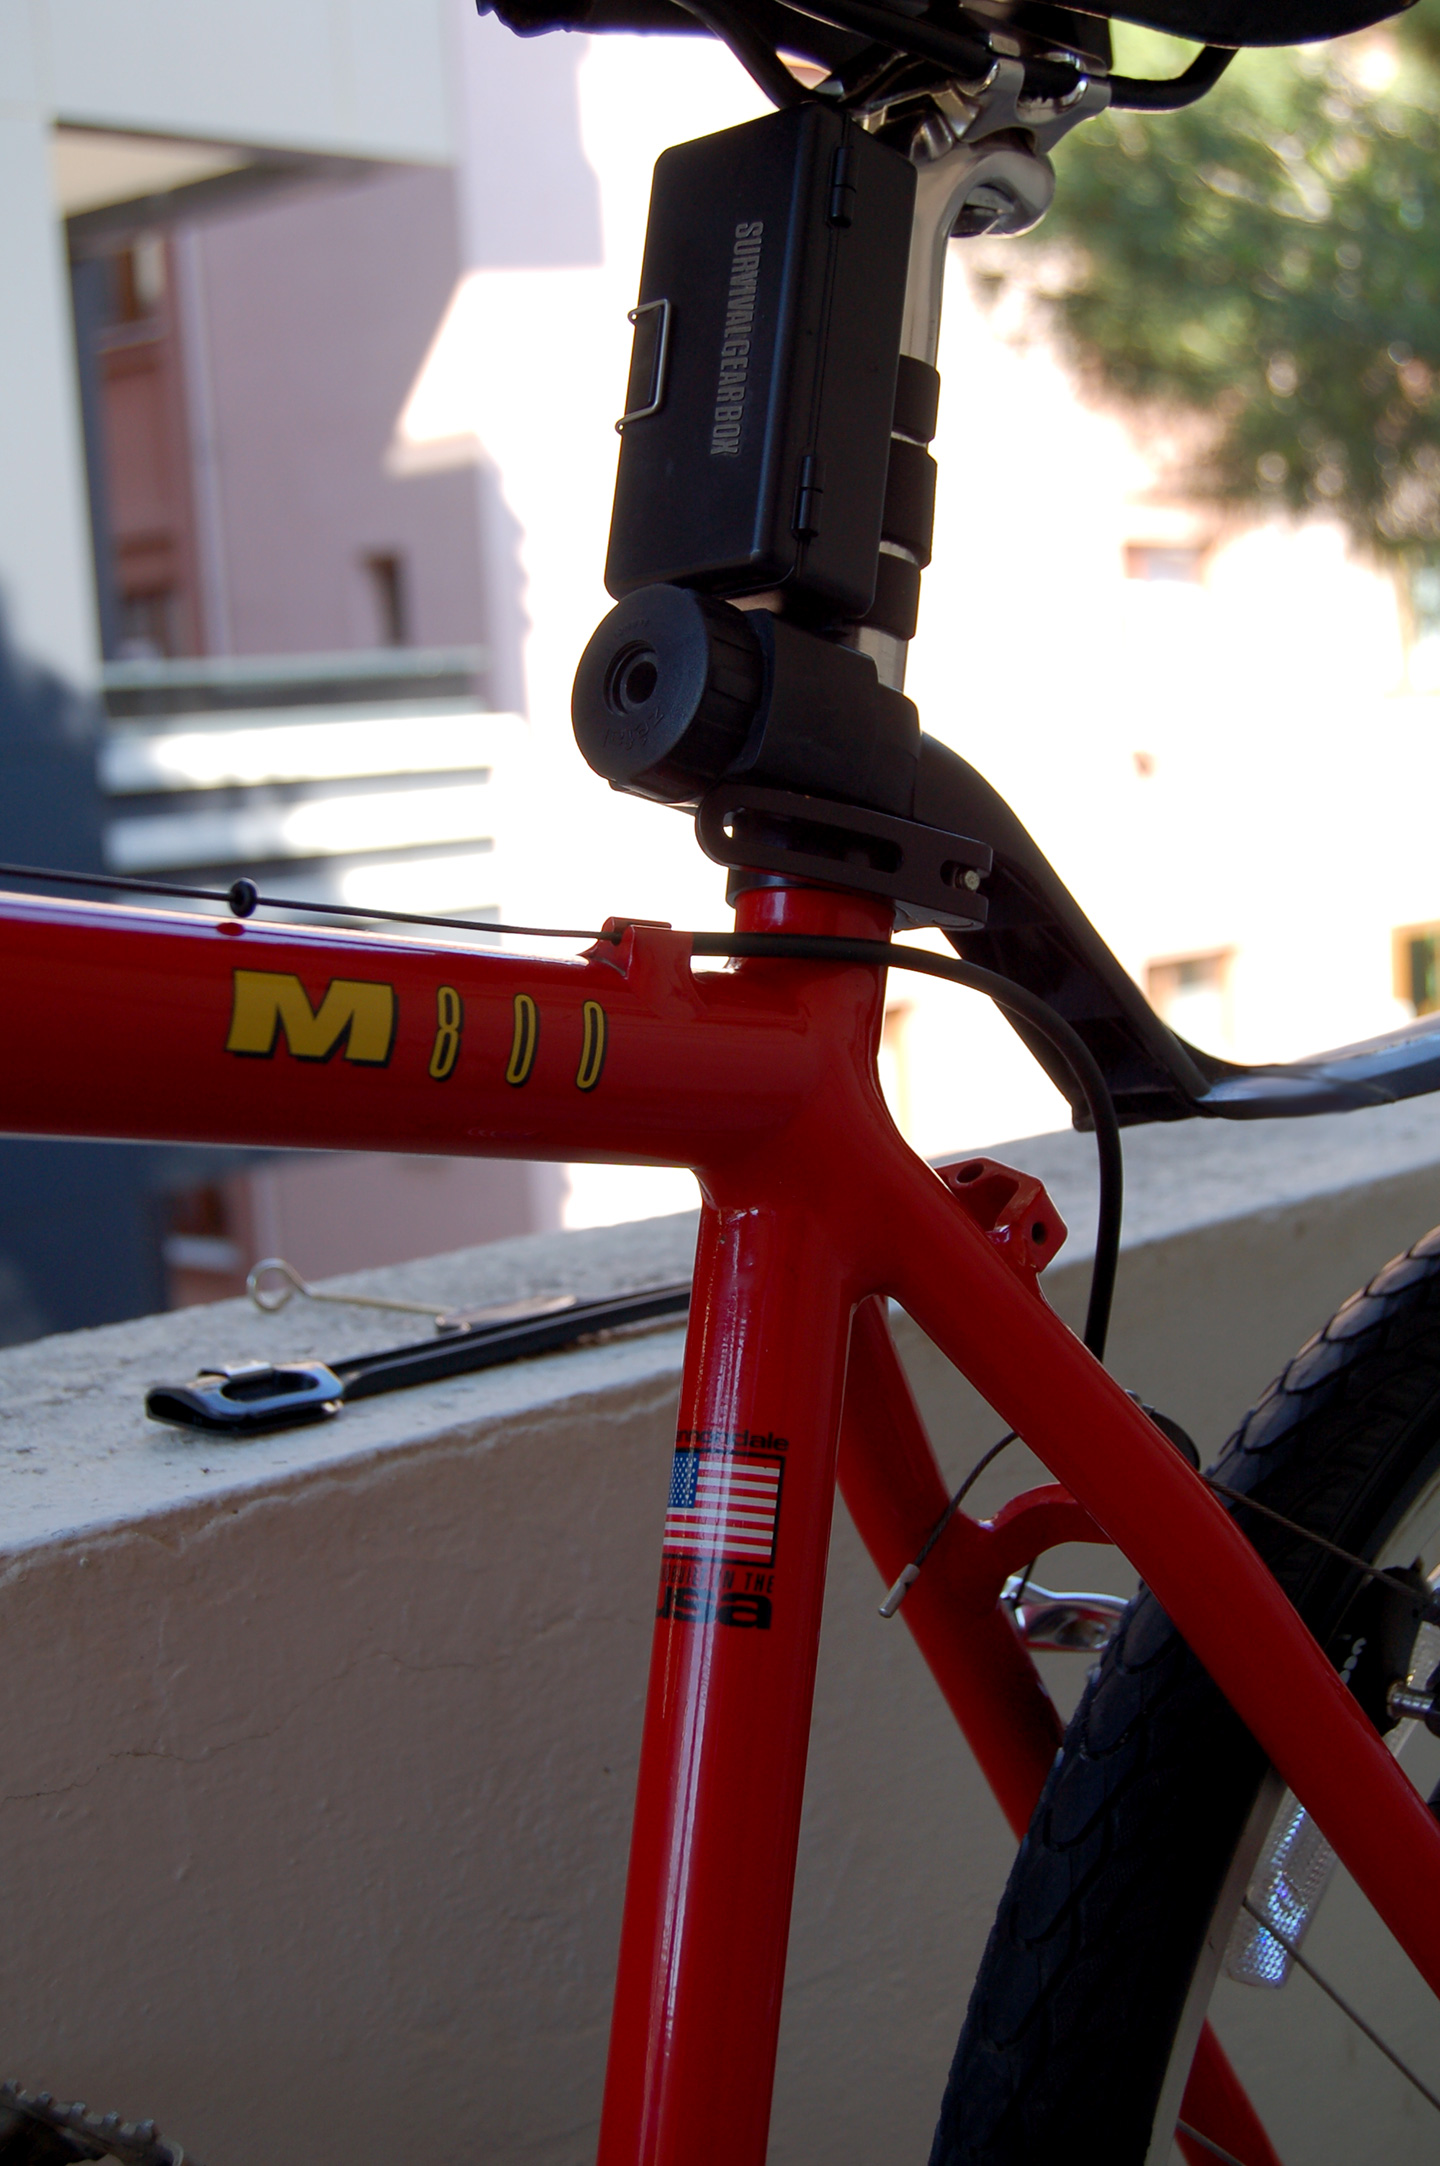
I rode along the waterfront again. Despite all the years, the frame is light and rigid. The bottom bracket is quite high off the ground, so I can go up and down steps and kerbs as I please—although, for now, my fitness does not always allow it. I have not tried one of the new bicycles, but I cannot imagine what more it could offer. Besides, as I said, I am now a vintage Cannondale rider. :)